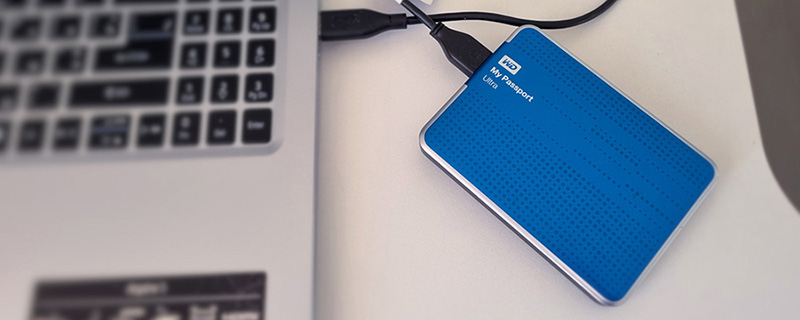
How to recover data from an external hard drive
If you happen to lose some important information from your external hard drive, no matter whether it’s an HDD or an SSD, first of all, don’t panic. It is possible to recover data from an external hard drive even if it was deleted (on purpose or by mistake) or disappeared because of a hardware or software failure.
The thing is that in spite of being inaccessible to you, the files might be still physically available on the drive for some time, particularly, before being replaced by new information. So, almost any data can be recovered before it’s overwritten. If you need more information, please read the article file system types and data recovery chances.
Before you start recovering data
Raise Data Recovery is undoubtedly an easy-to-use, economical and quick solution to restore your missing information. But before you start recovering files with its help, first make sure that everything is ok with your external HDD or SSD and that it works properly.
Please immediately stop using your external hard drive and take it to a trustworthy data recovery services center as soon as possible, when:
- the drive is mechanically damaged (you dropped it, opened its enclosure, it was exposed to a power surge, a fire/water damage, etc.);
- the external hard disk drive emits unusual noises (clicking, grinding, whirring, whining, etc.) or fails to boot;
- the HDD platter keeps spinning up and down or doesn’t spin at all;
- the drive’s firmware failed;
- the operating system can’t detect your external drive (provided that you’ve ruled out the possibility of a connection issue, following the instructions of this article).
In the above-mentioned cases, it’s very likely that the drive in question must be repaired to get access to it with further recovery of the data it might still keep. And the operations like the drive's enclosure opening, fixing its heads, replacing its parts and so on must be done only in a professional clean laboratory and by a qualified specialist. To get a general idea of what data recovery services are and when it is necessary to resort to their help, please, read the related article.
Moreover, damages like scratches or abrasions on an HDD platter or an SSD transistor failure result in the appearance of bad sectors on an external drive. And the higher the number of bad sectors, the more complicated is the file recovery case. Thus, under such circumstances, you’d better turn to trustworthy data recovery services recommended by SysDev Laboratories.
Please also consider contacting a data recovery specialist, in case your drive was in an operational state before the recovery procedure, but failed in the middle of it.
In addition, if you are not sure whether you have enough experience or skills to try restoring lost data yourself, you may also opt for data recovery services.
If none of the problems listed above is your case, please do not hesitate to download the free trial version of Raise Data Recovery and use it to scan your external drive for lost data. Then look through the recovery results and if the software has successfully managed to detect your missing files, feel free to order a license according to your needs.
How to recover files deleted from an external hard drive
An appropriate data recovery software like Raise Data Recovery can save you a lot of time and effort when you face a data loss issue caused by accidental file deletion, disk formatting or any type of logical failure. In order to restore files with the help of this program, follow these simple steps:
-
Download Raise Data Recovery to the computer you’re going to use to recover data and install it like a regular software. If you need detailed instructions, please check the installation guide.
-
Now connect the external hard drive you’ve lost files from to your PC. In case of an HDD, you can do it using a working USB cable provided with the device or, depending on the construction, via an integrated male USB connector, or with a native USB cable in case of an SSD.
Additionally, please take a look at a list of usefull recommendations to follow while restoring data from an external drive. -
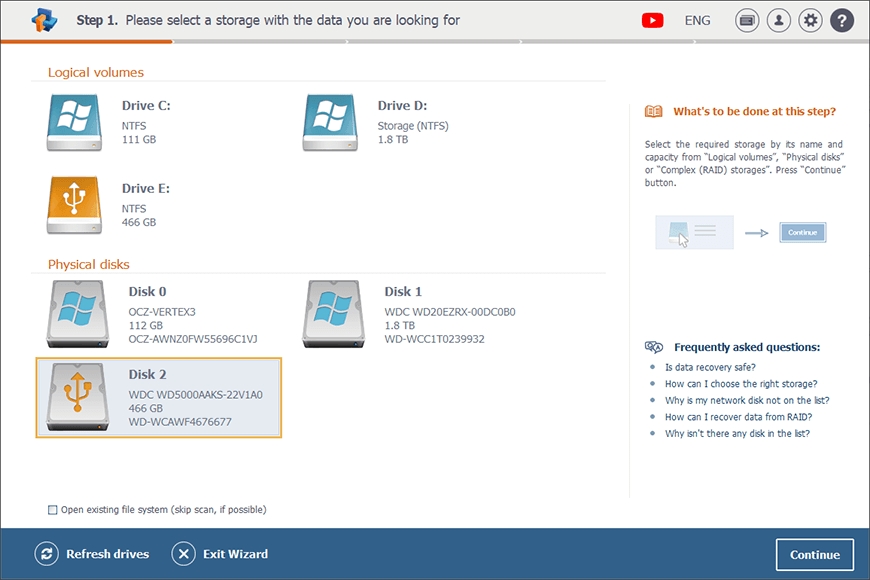
Run Raise Data Recovery and find your external hard drive in the Physical disks panel. If it’s not there, please follow the instructions of this tutorial.
-
Select the drive. Then double click it or press the Continue button in the bottom right corner of the program window.
-
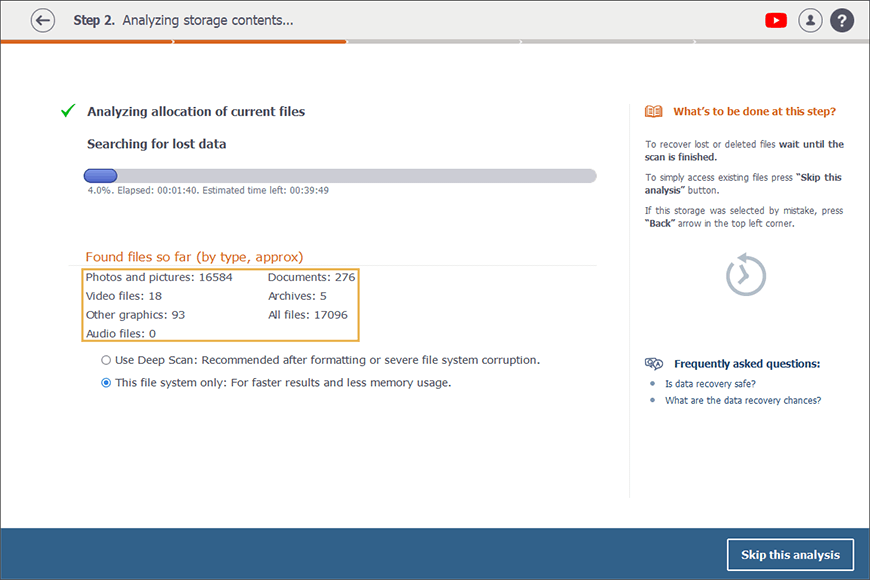
On the next screen, you’ll see two scanning options to choose between: a deep one that requires more time and a quick one that implies only the existing file system analysis. The deep scanning is recommended after a quick format of the drive you need to restore data from or in case its file system is very damaged. In other cases, you’d better choose the quick one to save your time and system memory.
Select the variant you need.

-
Wait till the program finishes the scanning. It may take some time, so be patient. You can follow the progress of the procedure with a progress bar. There you'll also see the numbers of different file types that have been found up to this point: photos, documents, videos and so on.
-
Once the scanning is completed, you’ll get access to the recovery result. It will have the same name as the scanned volume or the name of the physical storage it belongs to, in case the volume itself is heavily corrupted.
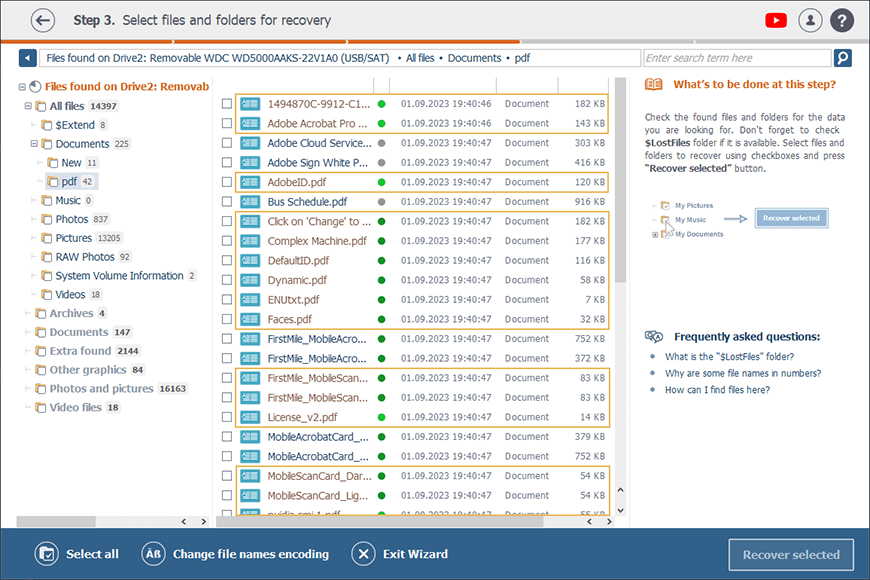
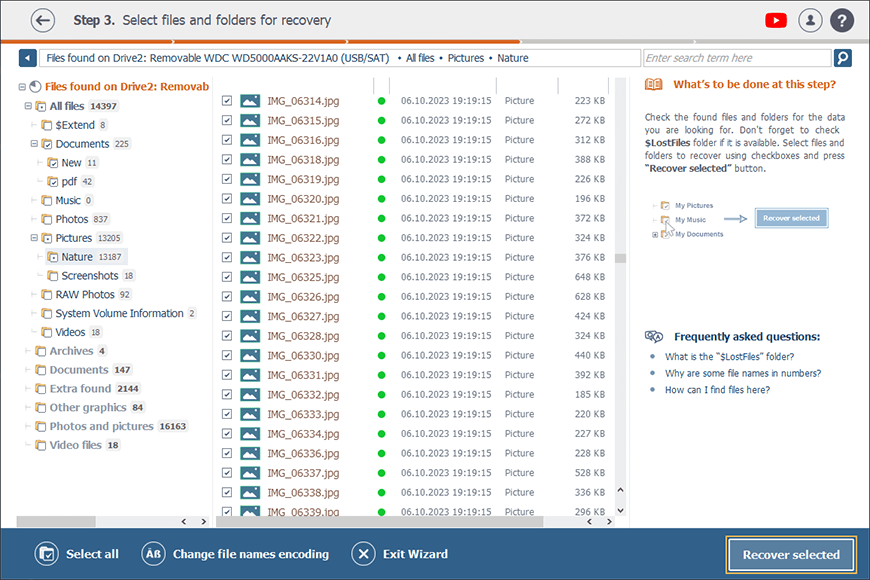
Your files will be grouped into different folders by their types: audio files, video files, photos and pictures, etc.
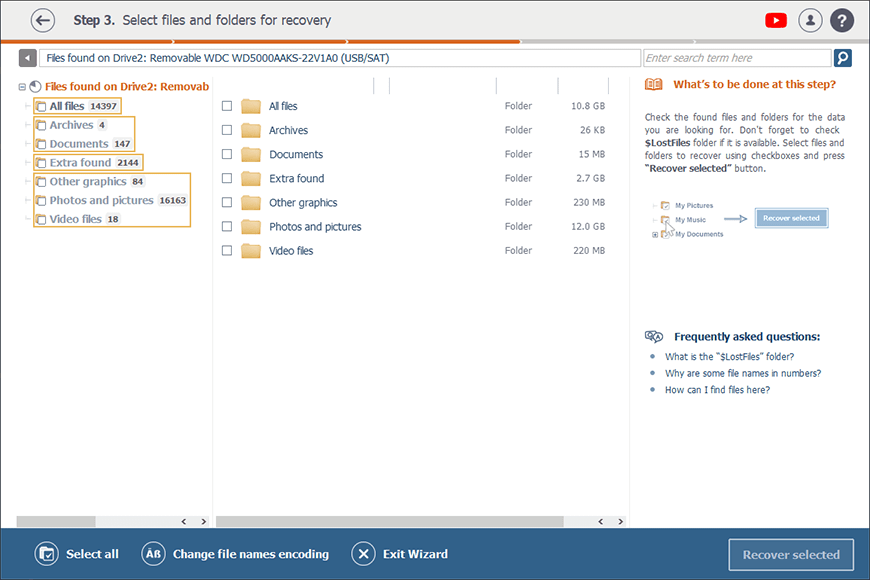
Thus, you may switch between folders to quickly find the files you need or, alternatively, click All files folder to see your drive’s content exactly as it is presented in the actual file system, i.e. in the form of a tree of folders.
You can easily differentiate the recovered files from the currently available ones by a different color of their names.
-
Look for the files you’d like to restore and once you find them, tick them off and press the Recover selected button. If you need more information on how to find, select, preview and save files in Raise Data Recovery, please read the respective article.
-
Remember that you should never save the recovered files to that very drive you’ve lost them from. This will cause an irrevocable data loss.
Please also note that the free trial version of Raise Data Recovery lets you copy an unlimited number of files of up to 256 KB each. If you need to save larger ones, please order a license following the steps of the corresponding guide.
Now choose a storage to save your recovered files to, press Start recovery and wait till they get copied.
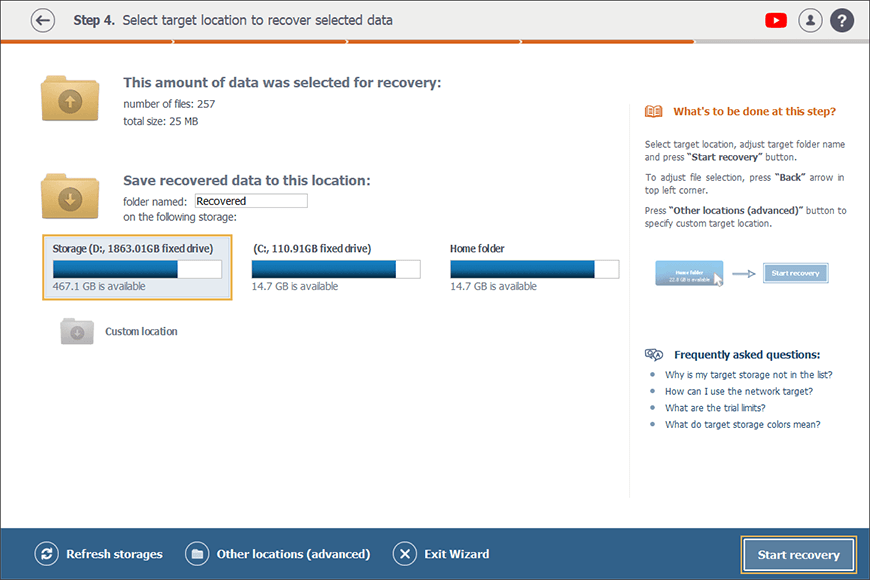
The process of saving may take some time, depending on the speed of both the source and the target storages. Please make sure that you've saved all the restored files you need before closing the program to avoid re-scanning that same data storage and, thus, save your time and effort.
Once they are copied, find them in the target folder you’ve chosen earlier.
When Raise Data Recovery might be not applicable
First of all, please remember that in case of logical data loss, the chances to get back your missing files depend on the employed file system’s specifics.
At the same time, if an external hard drive employs any specific technology Raise Data Recovery doesn’t support (like encryption, for example), you may need a more comprehensive solution compatible with such types of technologies like Recovery Explorer Professional or UFS Explorer Professional Recovery. Or just skip trying different software solutions and turn to a trustful data recovery services provider. You might as well contact one, if the result of the recovery with the program doesn’t meet your expectations.
And last but not the least thing to mention is that sometimes not a dedicated program, nor a data recovery specialist might be capable of restoring your missing files. The problem is that when a storage has been fully formatted or when the information on it has been overwritten (especially if overwritten several times), the data becomes unrecoverable. It is worth bearing in mind though that overwriting may happen not only as a result of saving new files to the same device that replace the original data. For example, specialized software designed for "secure erasure" or "shredding" intentionally overwrites the content with zeroes or random patterns, ensuring that it doesn’t exist anymore.
Full format or secure erasure on external HDDs is usually a time-consuming process, but it can be relatively quick for SSDs due to their inherent technology. The TRIM command, when enabled, helps them to wipe the data almost instantly, making those blocks blank and available for new writes. Yet, such methods are not practical for routine data deletion and shouldn’t be used unless absolutely necessary.
In case after reading this article, you still have questions, don't hesitate to ask them via this contact form.