How to find, select and save files in Raise Data Recovery
Although restoring files with Raise Data Recovery seems to be an absolutely straightforward procedure, when doing it for the first time, you might still need some extra guidance. So, here is a step-by-step tutorial on how to preview, find, select and save recovered files in Raise Data Recovery.
Navigate and preview
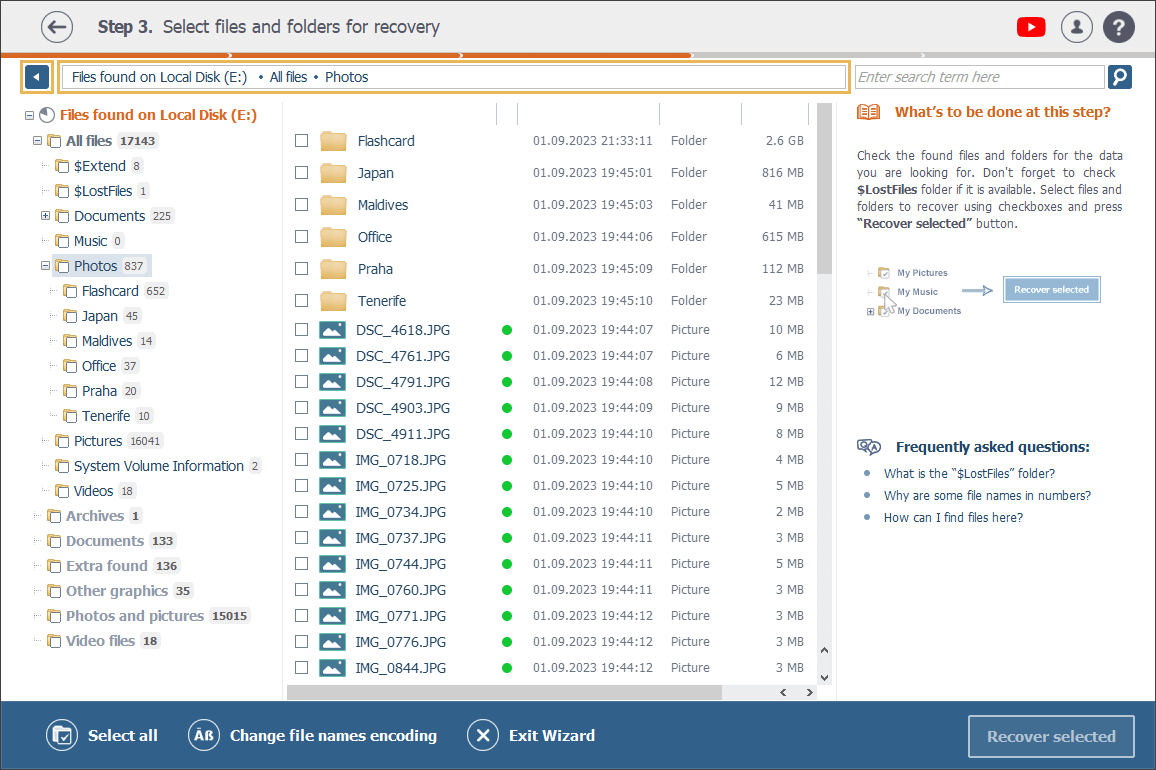
Once the program finishes the scanning, you'll see the main recovery result in the left-side panel. Its name corresponds to the name of the scanned volume or, if it’s severely damaged, to the name of the drive it belongs to. Hit the plus button beside it to see a list of folders it includes in the form of a tree.
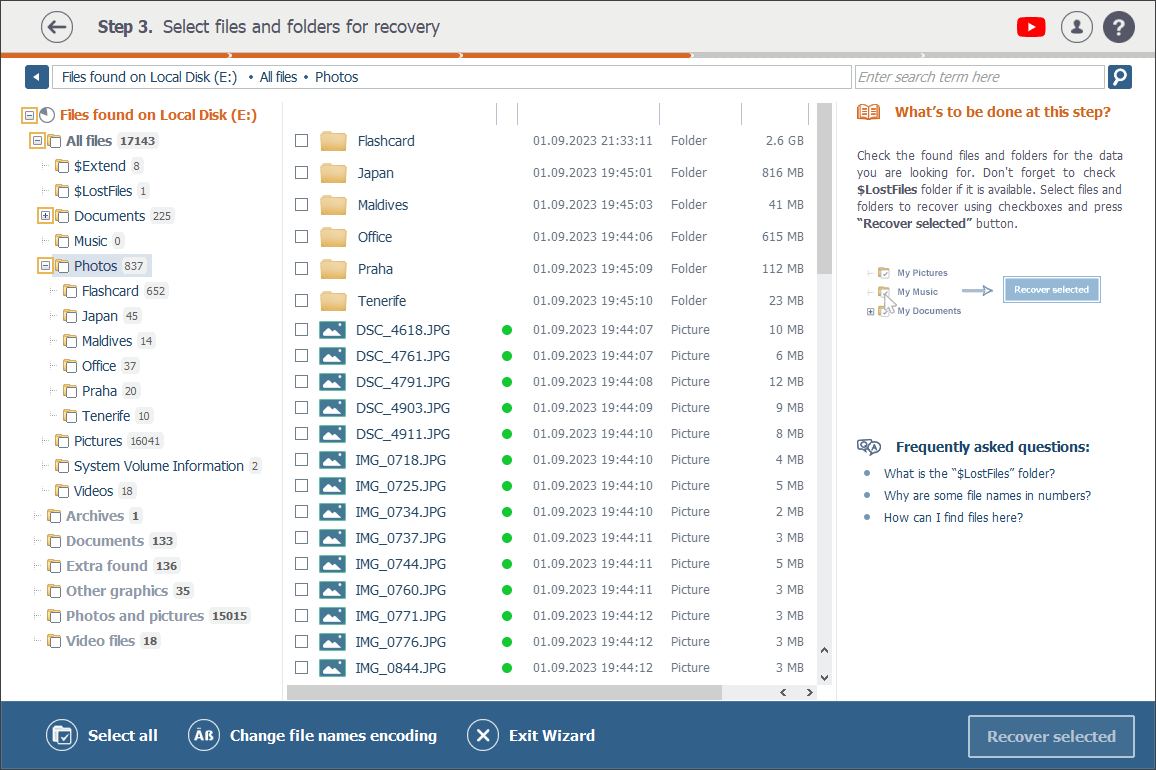
You may navigate by folders using the tree in the left pane and the plus/minus buttons next to every element there allowing you to see or hide its subfolders. Just select any folder or subfolder there and its contents will be automatically displayed in the main content area on the right.
And to get one or several levels up in the tree of folders, you can also use the address bar at the top of the left pane or the arrow button beside the bar.
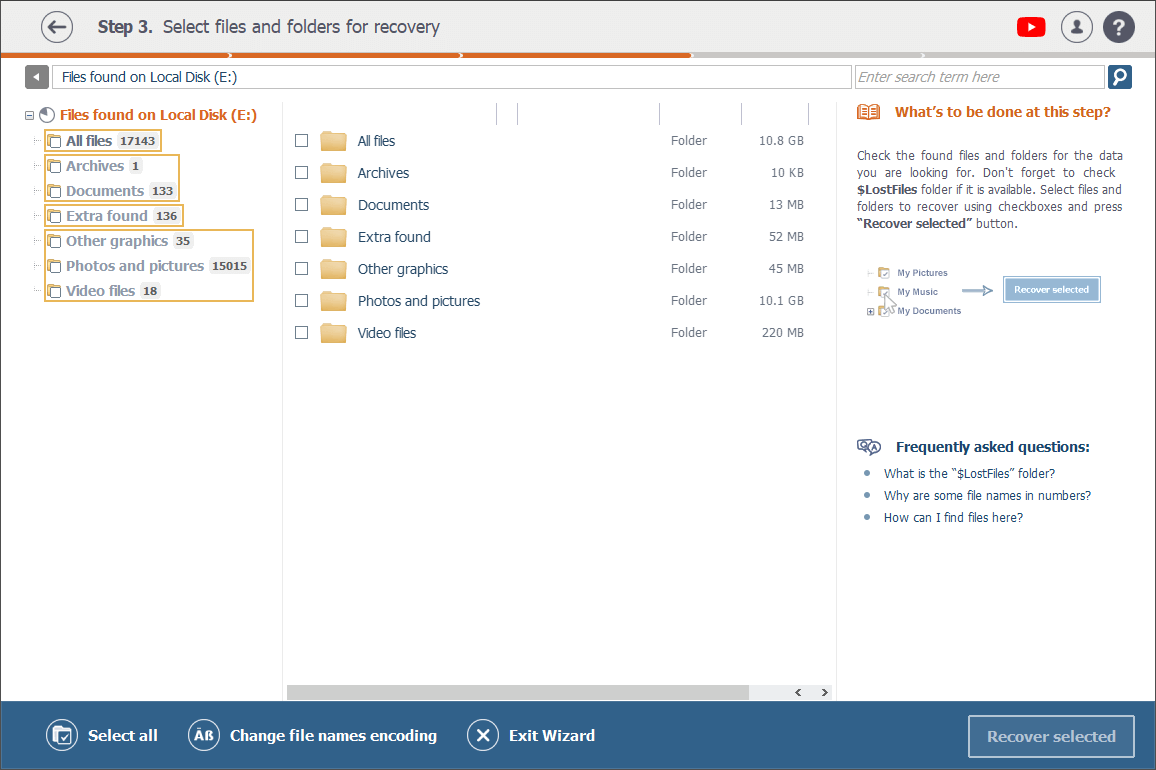
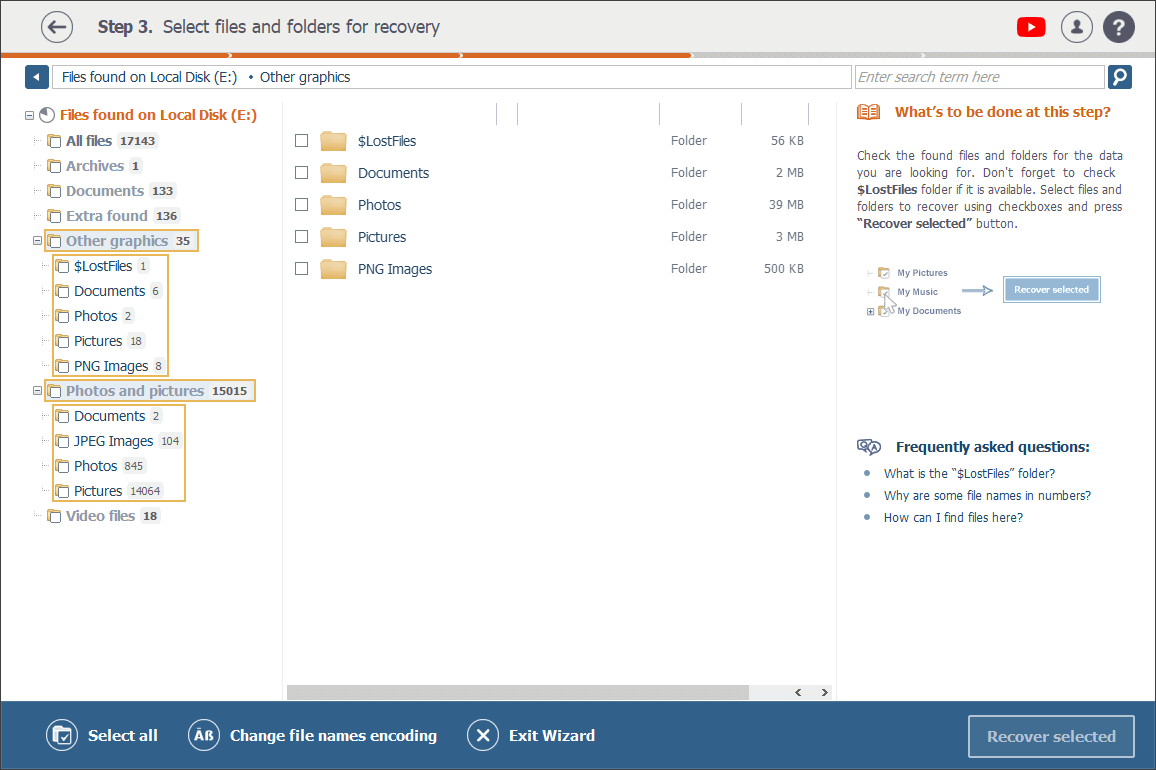
All files, both the currently available on your drive and the detected by the software as a result of its scanning, are grouped into corresponding folders by their types. So, depending on the contents of your data storage, there will be Archives, Audio files, Video files, Documents, Photos and pictures and other folders. The number of files of a certain type is indicated next to the respective folder.
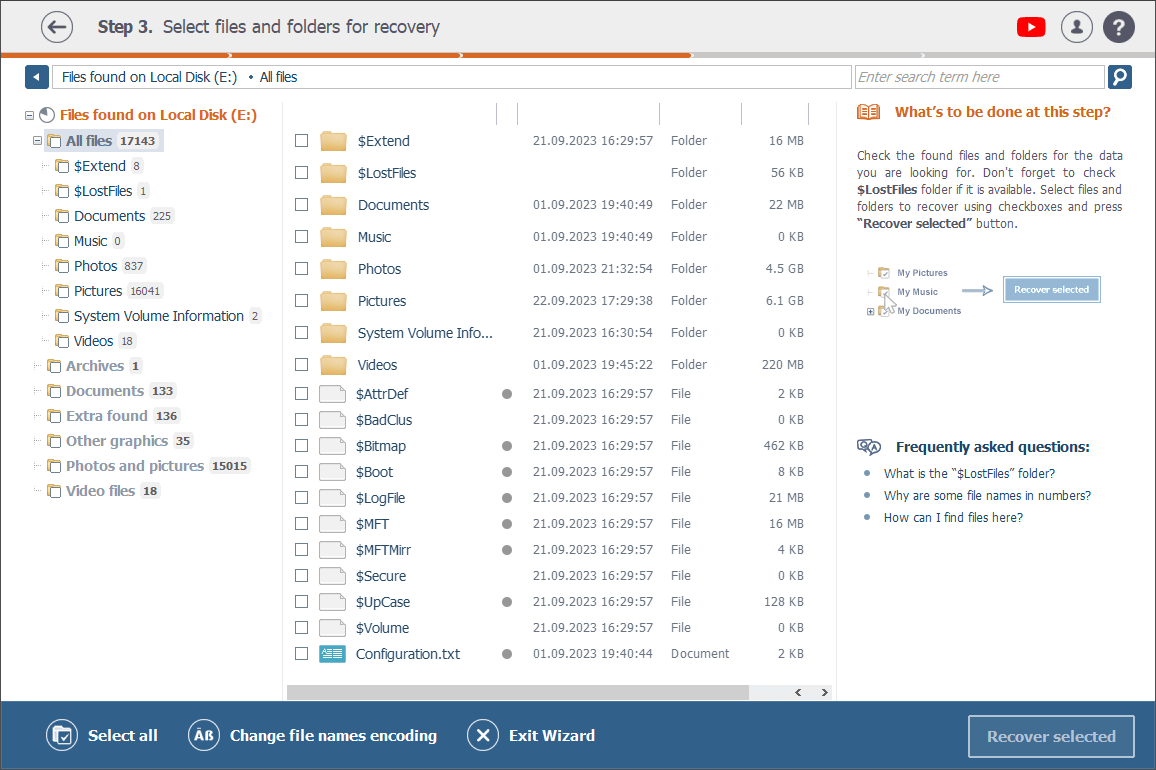
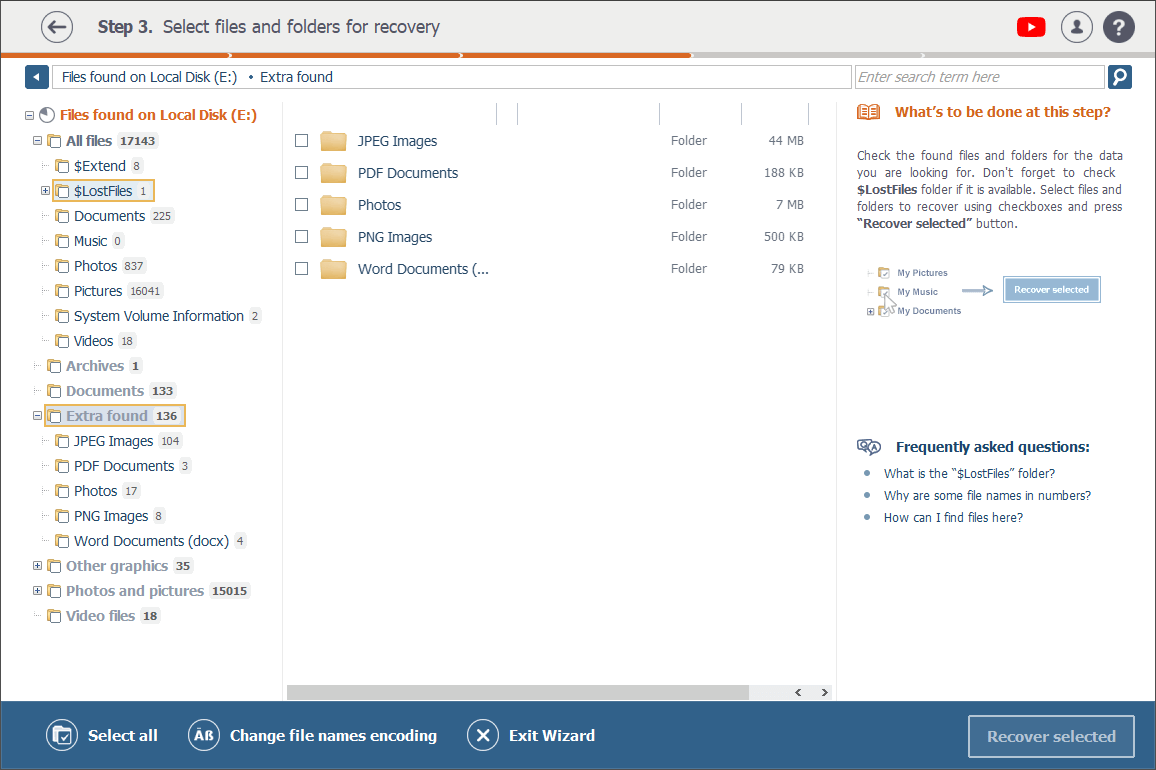
In addition, there will be one or two more folders: All files and Extra found. The All files folder presents files and folders exactly as they are organized in the file system of the scanned storage. And the Extra found folder includes the results of the so-called RAW recovery or recovery by known content.
Therefore, you can easily switch between folders to view all files at once or only files of a certain type.
A folder of files of a certain type may also include subfolders dedicated to different file formats. For example, the Photos and pictures folder may contain subfolders named JPEG Images and MRW Raw Photos, and the Other graphics folder, BMP Images, GIF Images and other subfolders.
Moreover, any folder of the recovery result may also include the following subfolders that are automatically generated by the program:
-
$LostFiles (recovered files that have lost their original paths);
-
$Recycle.Bin (results of deleted files recovery from the Recycle bin).
A circular icon next to every file indicates its status: the green one means that the file is ok (i.e. readable), whereas the red indicates a bad (severely damaged) file and the gray, a file that is either partially corrupted or of a specific format.
The names of deleted files that have been restored by the software are marked with a different color, so that they can be easily distinguished from the currently available ones.
You may also sort files of a folder by name, date and size clicking on the top of the respective property column.
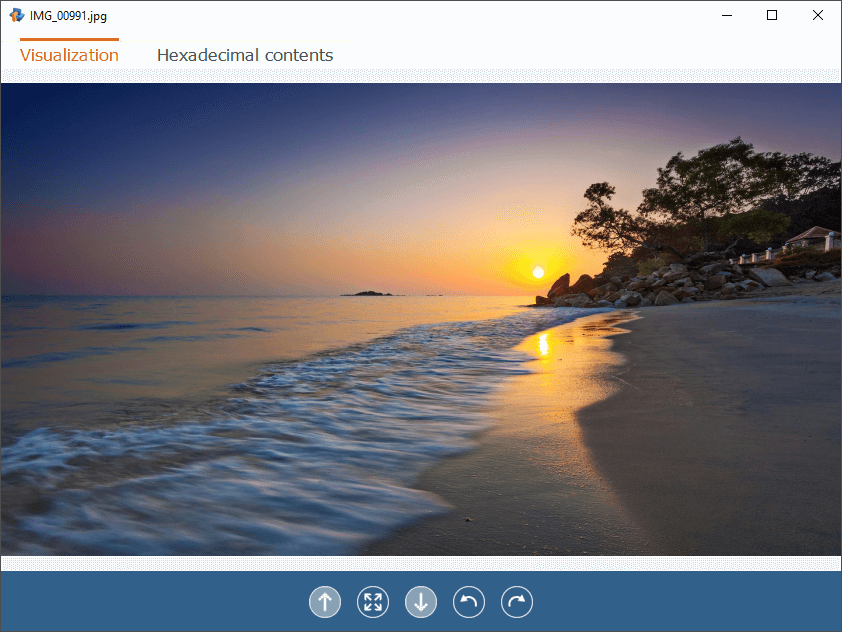
What’s more, Raise Data Recovery has a built-in file viewer to preview images, text documents and PDF files directly in the program interface. This way you can always verify if you’ve selected the right file for copying.
Just click on a file and its thumbnail will automatically appear in the right part of the program window.
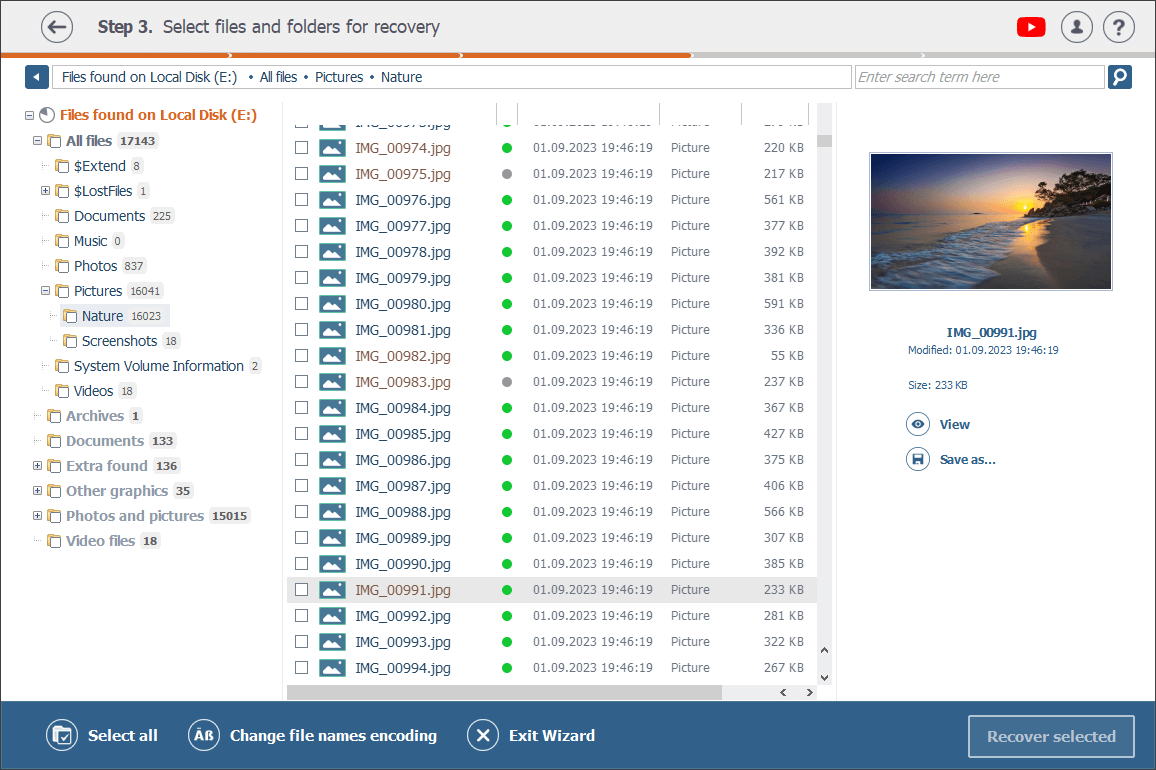
Click on View to preview its full-size version in a separate window.
Search
If you are looking for a specific file and remember its name, type that name (or at least a part of it) in the search field in the top right corner of the window and click on the magnifying glass icon or just press Enter on your keyboard.
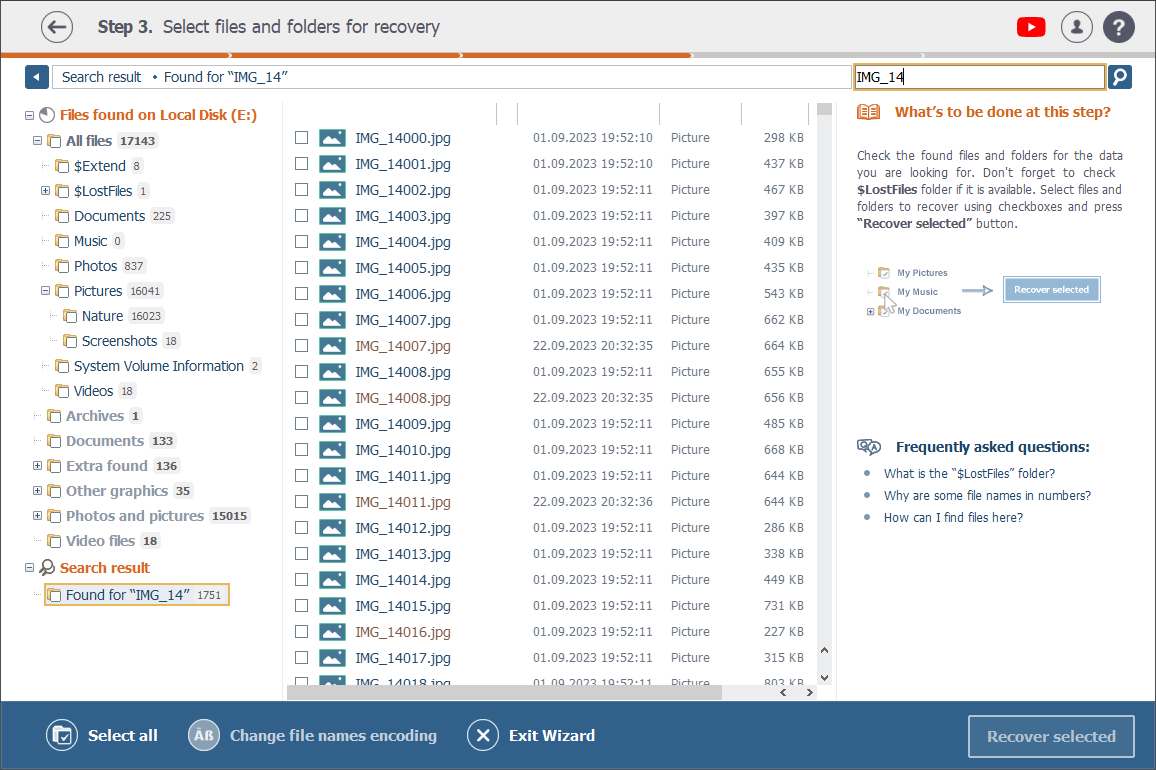
Please mind that sometimes files lose their original names in the process of deletion or formatting, or the recovery program restores them to another folder. So, in case you can’t locate a file in its “native” subfolder in the All files folder, we suggest that you also check the $LostFiles and Extra found folders.
Select and save
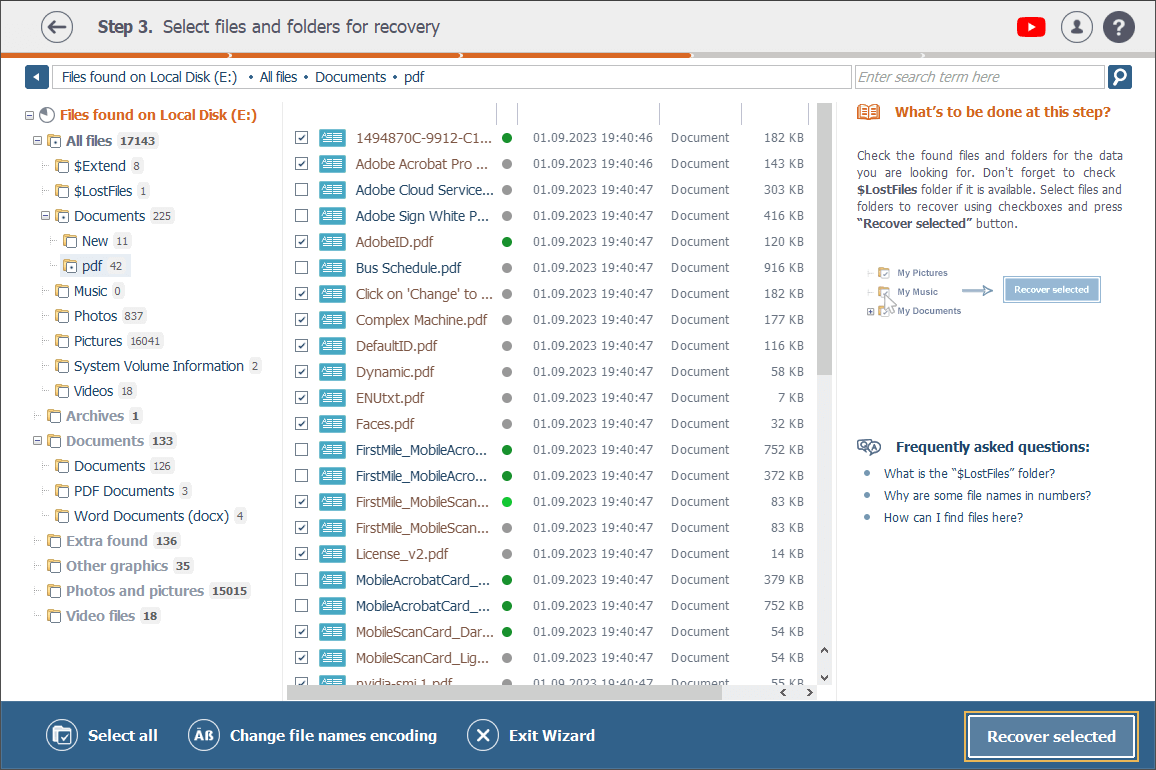
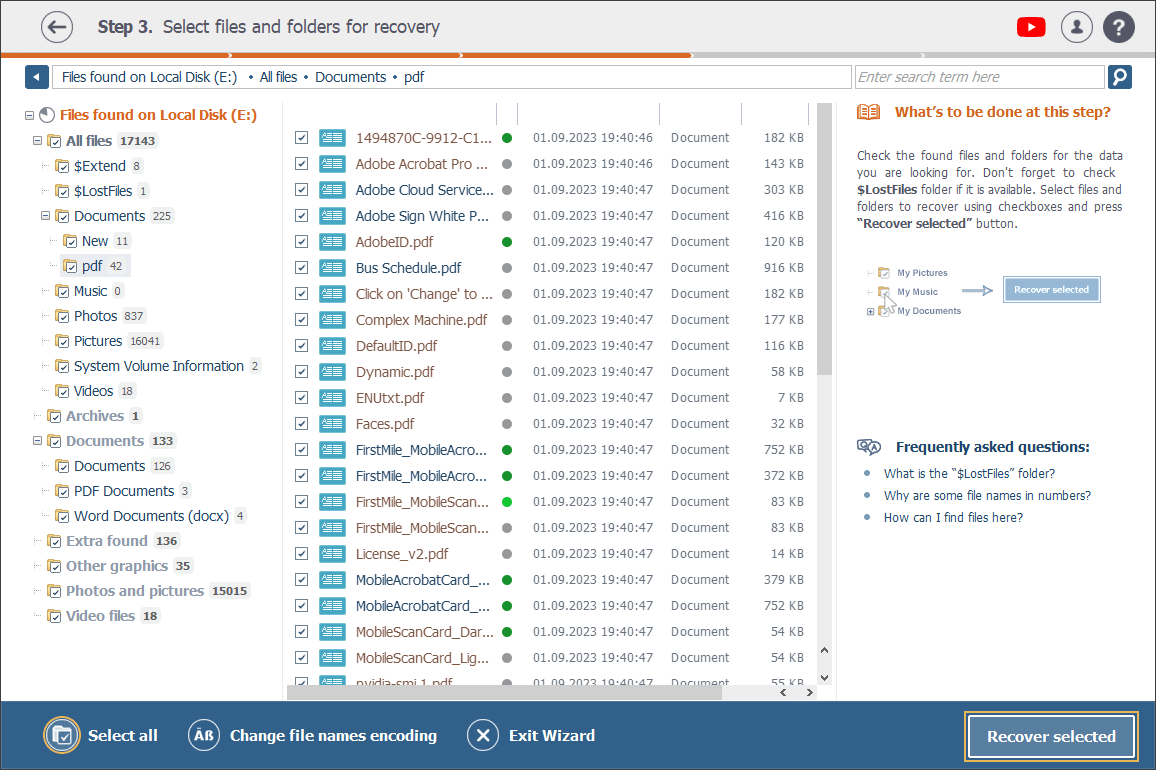
Once you’ve found your lost files among the recovered ones, select those you’d like to save by ticking them off. Then click on Recover selected.
As an alternative, you can click on a file and then on the Save as… option under its thumbnail.
If you need to save an entire folder, check it off in the directory tree on the left or open that folder and make a click on the Select all option at the bottom bar. Then press the Recover selected button.
At the end, choose a target storage you'd like to copy the restored files to (different from the source one) and press Start recovery.